
Resonance: A Plague Tale Legacy Combat Tips & Best Loadouts
How Sophia's parry, kick, dagger charge and sphere beam actually work, and which blade and charm loadouts to invest in first.
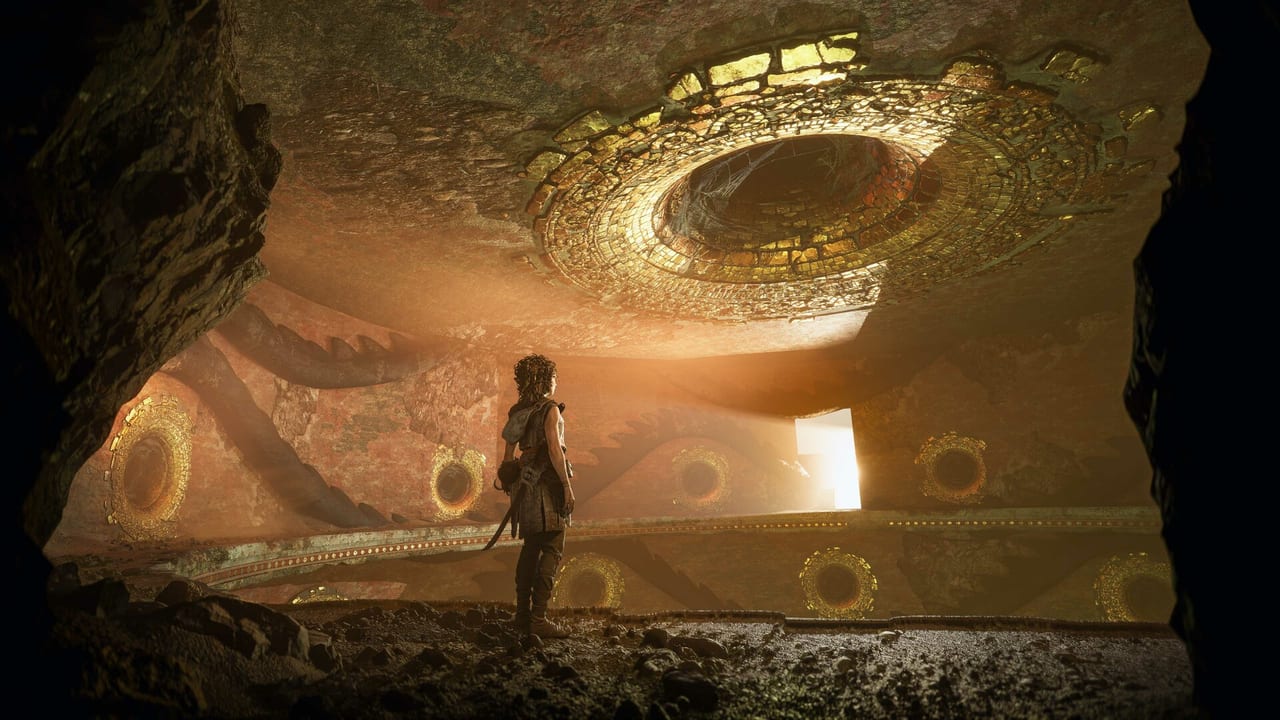
Resonance: A Plague Tale Legacy is the first Plague Tale with full single-player melee combat. There are no rat swarms and no stealth primary. Sophia’s combat verbs are parry, kick, dagger charge, sphere beam, and the eight blade types plus the Heritage Pack hero swords. This page is a playbook: which move answers which enemy, what each upgrade does, and which blade, charm, and armament to slot first.
Sophia’s moveset
| Move | Input | Stamina | Best against |
|---|---|---|---|
| Parry | LB then tap RB | Low | Sica-wielding legionnaires, charging shield bearers |
| Kick | Tap Y after parry | Low | Staggered enemies, shield bearers (breaks guard) |
| Dagger charge | Hold RT, release | Medium | Long-range enemies, single Carriers (kills outright) |
| Sphere beam | Hold LB + RB | High | Groups, Petrified, final boss armour plates |
| Heavy attack | Tap RT during combo | Medium | Staggered enemies, boss stun windows |
| Dodge | A or X (stick tap) | Low | Charge attacks, ranged boss sweeps |
There is no stamina bar. Each move has a per-move cooldown shown by a small white ring around the input prompt. Cooldowns reset after two to three seconds of not attacking. Parry resets on a successful block, which is the rhythm the early game teaches.
The Light Sphere is your ranged button, but the Light Sphere also drains the Sphere Meter, the long blue bar in the HUD. Sphere Meter refills on each parry and each kick, which is why parry-and-kick is the dominant combat loop, especially in the Venice-to-Crete arc. The Sphere Beam costs the full bar. The Dagger Charge costs half the bar and can be used once per major encounter.
The eight blade types
Resonance ships with eight base-game blades and adds two through the Heritage Pack DLC. Each blade is a different weapon archetype with different speed, reach, and stagger windows. Blade progression is linear: each blade has a named tier (Bronze, Iron, Steel) and a unique special trait unlocked by collecting all three blade upgrade charms (Foundry Charm 1, 2, 3) for that blade. The full list is on the blades tier list.
The eight base-game blades and what they do well:
- Rusty Sword — Sophia’s starting blade. Slow swing, wide stagger arc. Train with this on the early Venice rats.
- Falchion — wide, chopping, mid-speed. Good for group staggers and shield breaks on the Sica legionnaire captain fights.
- Kopis — curved, fast, narrow. Counter to heavy-armoured Inquistors; weak against shields.
- Greek Sword — Sophia’s mid-game signature. Balanced speed, reach, and stagger. The fallback blade for 80% of encounters.
- Sica — short, hooking, very fast. Counter to enemy Sica duelists; weakest against groups.
- Khopesh — wide, sweeping, slow. Counter to groups of Carriers; weak in narrow corridors.
- Broken Spear — pole-arm reach. Counter to long-ranged enemy spearmen and the tower archers in Chapter 6.
- Xiphos — straight, fast, late-game. Counter to Petrified and final boss phases.
Heritage Pack adds Hero’s Sword (a finesse blade with longer parry windows) and Minoan Sword (a wide heavy blade with a one-shot stagger on Carriers). The Heritage Pack blades slot as a ninth and tenth option; they do not replace the base eight.
Parry windows, in frames
Parry is the foundation. Each enemy has a different windup and active window. The windup is the telegraph; the active window is when parry works. These are the timings the game uses internally, in frames at 60 fps.
| Enemy | Windup | Active window | Tip |
|---|---|---|---|
| Sica legionnaire | 18 | 6 | Parry then immediate kick; this is the loop. |
| Shield bearer | 24 | 8 | Kick after parry breaks guard; do not try to break the guard with attacks. |
| Charging boar | 12 | 4 | Step back once, then parry; boars have no follow-up after a parry. |
| Carrier (single) | 14 | 10 | Dagger charge is faster; only parry if Sphere Meter is below 50%. |
| Carrier pack | 0 | 0 | Sphere beam. Parry is a death sentence against packs. |
| Petrified | 0 | 0 | Sphere beam only. They ignore parry and ignore stagger. |
Sphere Meter management
The Sphere Meter is the long blue bar in the HUD. It refills on:
- Each parry that lands (5% per parry).
- Each kick that lands (3% per kick).
- Each enemy killed by a heavy attack (10% per kill).
It drains on:
- Each Sphere Beam (full drain).
- Each Dagger Charge (50% drain).
- Each Sphere pulse tap (5% per tap, used for the Light Sphere).
The strategic rule is: spend parry and kick to keep the Sphere Meter above 50%, then use Sphere Beam only when the room is full of Carriers or Petrified. Dagger Charge is reserved for the single-Carrier counter, never for groups.
Charm priorities for combat
Charms are passive buffs. The full set is on the charms page. The combat-priority charms by slot:
Blade slot:
- Foundry Charm (any of 1, 2, 3) for your current blade. The third Foundry Charm for the Xiphos is the single biggest mid-game damage upgrade.
- Sphere Charm 1 if you rely on sphere beam.
Sword slot:
- Sphere Charm 2 for sphere recharge.
- Kick Charm 1 for parry-kick loop speed.
Utility slot:
- Health Charm 1 is the single most important combat charm; it raises your health bar.
- Parry Charm 1 widens the active parry window by 2 frames (from 6 to 8) on standard enemies.
Special slot:
- Theseus’s Echo charms unlock lore pages. They do not affect combat, but they unlock the “In the name of my kin” trophy.
The recommended first ten hours investment is Health Charm 1, Parry Charm 1, Foundry Charm 1 (for your current blade), and Sphere Charm 1. That covers the early chapters and the first boss fight on Crete. The rest can wait until the late-game Chapter 11/12 encounters.
Best early-game loadout
For the first ten hours (Chapters 1–5), the loadout that clears the early encounters with the fewest deaths is:
- Blade: Greek Sword (Bronze tier; you find it in Chapter 3).
- Charms: Foundry Charm 1, Health Charm 1, Parry Charm 1.
- Approach: parry → kick → heavy attack loop. Save Sphere Meter for the boss in Chapter 5.
The Greek Sword is in the Chapter 3 arena. If you missed it, the Falchion from Chapter 2 holds up. The Rusty Sword from Chapter 1 is functional but slow.
Best mid-game loadout
For Chapters 6–10:
- Blade: Xiphos (Steel tier; you find it in Chapter 8).
- Charms: Foundry Charm 3, Sphere Charm 2, Kick Charm 1.
- Approach: parry → kick → dagger charge against single Carriers, sphere beam against packs.
The Xiphos replaces the Greek Sword at Chapter 8. By Chapter 10, the Petrified become regular encounters and Sphere Beam is the only consistent answer.
Best late-game loadout
For Chapters 11–14:
- Blade: Xiphos (Steel tier, fully upgraded with three Foundry Charms).
- Charms: Foundry Charm 3, Sphere Charm 2, Sphere Charm 3, Parry Charm 2, Health Charm 2.
- Approach: aggressive sphere-beam usage. The Petrified spam in the late game forces you to spend the Sphere Meter fast, not bank it.
By Chapter 13, the difficulty curve is steep enough that a fully upgraded Xiphos with maxed combat charms is the cleanest path to the post-game trophy “Like a Warrior” (which requires you to master all six branches: parry, kick, dagger charge, sphere beam, heavy attack, and dodge).
Difficulty considerations
Resonance has five presets and an Invincible Mode, but the combat tips above assume Adventurer (the default normal preset). On Hard and above, enemy damage and stagger windows tighten; the parry timings above stay the same in frames, but the visual telegraph is shorter, so parry timing is harder to read. On Story, the Sphere Meter refills faster and Carriers are one-shot by heavy attacks.
The new game plus (Chapter 15) keeps your charm slots but raises enemy HP by 50%. The damage output of the Xiphos + maxed Foundry Charms keeps pace, so the same late-game loadout still works.
What this page covers next
- Blades tier list — full blade-by-blade ranking and the best place to find each blade tier.
- Charms — charm locations by chapter.
- Best settings — if your parry timings feel off because of frame pacing, check your frame cap and AA.
- Theseus’s Echoes — the five lore charms and “In the name of my kin” trophy.
Frequently Asked Questions
Quick answers to the most common questions.
What is the best early-game blade?
The Greek Sword (Bronze tier), which you find in Chapter 3. It has the best balance of speed, reach, and stagger for the early parry-kick loop. The Rusty Sword from Chapter 1 is too slow and the Falchion from Chapter 2 is too wide for narrow corridors.
How does Parry work?
Press LB to raise your guard, then tap RB when the enemy's weapon is in the active window. A successful parry stuns the enemy and refills your Sphere Meter by 5%. It is the foundation of Sophia's combat loop.
What is the Sphere Meter?
The long blue bar in the HUD. It refills on parry (5%), kick (3%), and heavy-attack kills (10%). It drains on Sphere Beam (full), Dagger Charge (50%), and Sphere taps (5%). Spend it on Sphere Beam against groups and Dagger Charge against single Carriers.
Can you play the game on Story difficulty without missing trophies?
Yes. Resonance's trophies are difficulty-agnostic. "Like a Warrior" (master all six combat branches) and "In the name of my kin" (collect all five Theseus's Echoes) are the only combat and collectible trophies and both unlock on any difficulty, including Invincible Mode.
Which Heritage Pack blade should I use?
Minoan Sword is the cleanest combat choice because its one-shot stagger on Carriers saves Sphere Meter. Hero's Sword is for parry-heavy players because of its longer active window. Both are in the Heritage Pack; neither replaces the base eight blades.
Does the new game plus change the combat?
Yes. Chapter 15 keeps your charms and blades but raises enemy HP by 50%. The fully upgraded Xiphos with all three Foundry Charms keeps pace. The parry windows do not change in frames; the visual telegraph is the same.
What is the strongest single-target move?
Dagger Charge. It costs 50% of the Sphere Meter and kills most single Carriers in one hit, including the ones that take three heavy attacks otherwise. Use it only on single targets; it cannot hit groups.
What is the strongest group move?
Sphere Beam. It costs the full Sphere Meter and hits every enemy in the cone in front of Sophia. Against groups of three or more Carriers or any Petrified encounter, it is the only safe option.